A motorcycle parked against a drywall stud takes up less than two square meters. A motorcycle undergoing a valve clearance inspection, fork seal replacement, or rear tire swap demands nearly four times that area once you account for body posture, stand handle swing, and removed body panels.
Standard Bike Footprint2.1 m × 0.85 m
Ideal Service Envelope3.8 m × 2.4 m
Workbench Depth600 – 750 mm
Color Rendering IndexCRI 90+ @ 5000K
Wall Bench & Rolling Tool Chest (650 mm Depth)
Left-Side Kneeling & Drivetrain Corridor (800 mm)
CENTRAL SERVICE PAD (High-Density Mat) Rear Stand Arc: 950 mm Aft | Front Axle Slide: 850 mm Fore
Why Perimeter Clearance Matters More Than Total Square Footage
Home mechanics often push a heavy workbench into the front nose of the bay and line both side walls with deep storage totes. The moment you try to pull a 280 mm front axle rod out of the left fork leg, the axle hits a shelf. Similarly, a rear paddock stand requires nearly a full meter of clear floor behind the rear tire so the hoop handle can pivot from vertical to horizontal.
Mark your primary service pad on the floor with low-tack tape before bolting down cabinets. Keep wall storage above 1,300 mm off the ground along the narrow sides of the bay so handlebars and mirrors pass cleanly underneath when wheeling the bike in.
Floor Surfaces // Impact & Fluid Resistance
Choose Flooring That Survives Sidestands and Brake Fluid
Bare poured concrete dusts constantly, wicks ground moisture toward your bike's underbelly, and chips when a heavy socket drops. Worse, a steel sidestand foot concentrates massive point pressure—especially on hot summer days—while spilled DOT 4 glycol brake fluid dissolves cheap single-part floor paints.
Solid-Surface PVC Tiles & Nitrile Service Mats
Avoid open-grid drainage tiles directly under the maintenance zone: dropped M5 fairing washers and carb jets fall straight through the slots, requiring you to pry up tiles mid-job. Instead, use solid coin-top or diamond-plate virgin PVC tiles (minimum 5 mm thickness) paired with an oil-resistant nitrile rubber mat directly under the engine sump.
Compatibility Caution: Always keep a 150 mm × 150 mm aluminum or high-density polyethylene (HDPE) sidestand puck on the mat so the stand tang does not indent the PVC over long storage periods.
100% Solids Epoxy with Polyaspartic Topcoat
A two-part cycloaliphatic epoxy sealed with a clear polyaspartic urethane topcoat resists gasoline, kerosene, and DOT 4 brake fluid without blistering. Broadcast fine aluminum oxide grit into the final coat rather than heavy decorative vinyl flakes; heavy flakes camouflage dropped circlips and springs.
For mechanics on a tight budget or working in damp heritage garages where vapor barriers are absent, a penetrating silicate hardener stops concrete dusting and prevents engine oil from soaking into the slab, without risk of hot-tire peeling.
Lighting, Power & Wall Storage
Eliminate Shadows Inside the Wheel Wells
Cross-Angled LED Battens
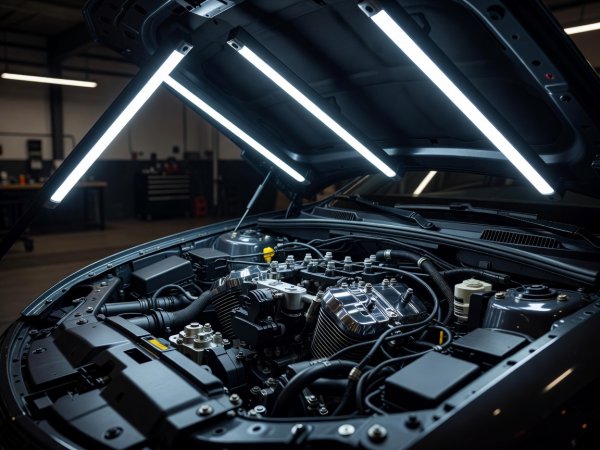
A single ceiling bulb directly above the fuel tank casts your own head shadow straight onto the clutch cover or rear caliper. Mount two 1,200 mm LED battens (5000K daylight, CRI 90+) parallel to the bike, offset 600 mm outside the handlebars.
Off-Floor Fairing & Tank Cradle
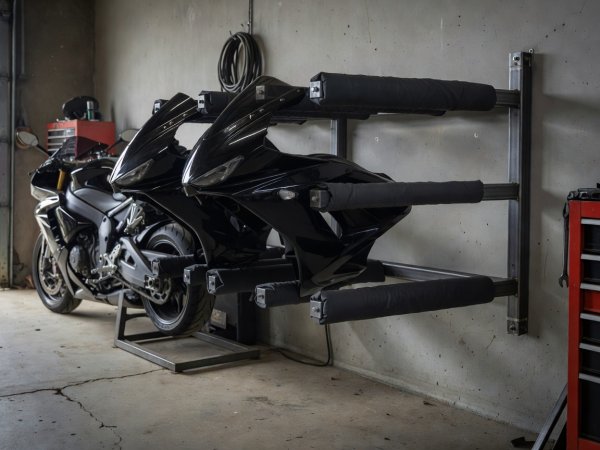
Removed ABS plastic fairings and painted fuel tanks get scratched the moment they lean against a lawnmower or recycling bin. Dedicate two foam-sleeved folding wall brackets or an overhead hanging shelf with a microfiber blanket exclusively for bodywork during service.
Overhead Power & Ventilation
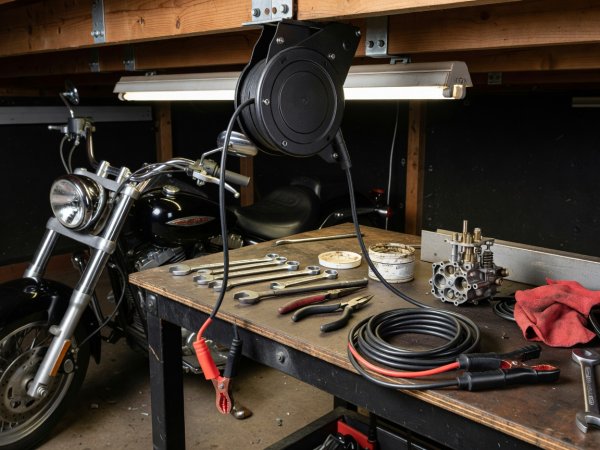
Trailing extension cords across the floor snag paddock stand wheels. Hang a retractable 13A cord reel from a ceiling joist and route your smart battery charger lead down the wall so the floor stays completely flat.
We use cookies
Some cookies are needed for the site to work. Others help us understand how it is used. You can change your choice later. Cookie policy